
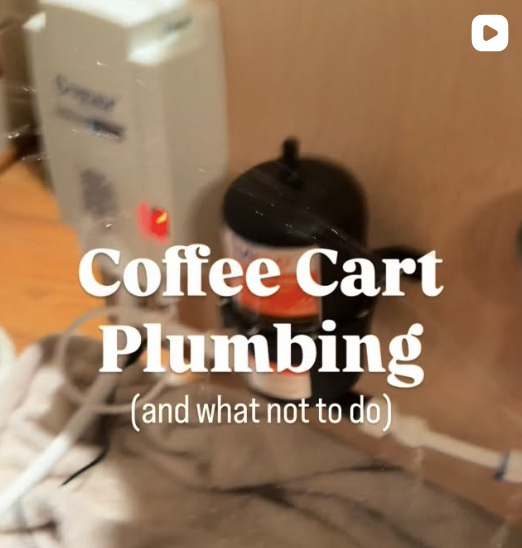
Coffee Cart Plumbing: Coffee Cart Startup Series
Ok so I have ZERO plumbing experience and was super intimidated by the idea of setting up my own water system to get water to my espresso machine, pitcher rinser, and sink. I started by doing basic research on youtube and the internet to see what other people did and here is what I found out…
Water Quality:
First, we need to talk about water quality. Your espresso machine is the most valuable and probably the most expensive piece of equipment for your coffee cart. The type of water you put into it greatly affects the taste and quality of your espresso and the lifespan of your machine. Do some research on your espresso machine and what kind of water is best for it. I have the Lucca A53 Direct Plumb Espresso Machine. For this machine you need:
Total Dissolved Solids (TDS): between 35-85ppm
Hardness: below 50ppm
Now you may be saying, ok great, don’t know what any of that means, and honestly me either except that it can cause build-up in your machine. What you need to know is how to test for it. You can buy simple test strips to test the quality of your water off of Amazon. I will link the one I used to measure TDS HERE.
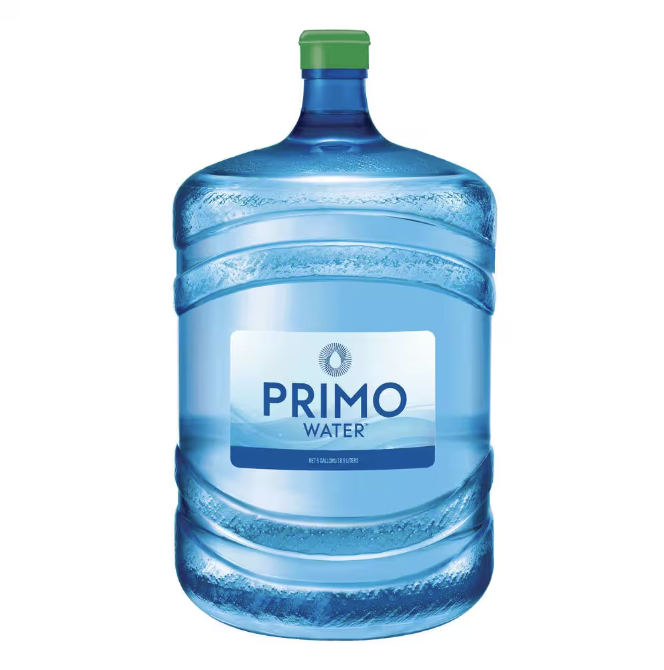
Continuing on the topic of water quality you now need to decide if you want to buy big 5 gallon jugs of pre-filtered water from a store like home depot or if you want to fill up a jug with tap water. My first thought was tap water to save hassle and money in the long term duhhhh. Except the one catch is that tap water often has various levels of hardness and TDS that often aren’t suitable for espresso machines. One solution to this issue is to add a water filtration system to your plumbing setup. I however, wanted consistent water quality and to avoid the need for a water filter so I opted for pre-filtered water jugs that I buy from Home depot.
These pre-filtered jugs cost around $15 for the first purchase and about $5 for refills. I still recommend testing the water quality to make sure it’s within the range that you need, and mine was! Now I feel confident that I have high-quality water for my machine.
Your Plumbing System:
Now onto the intimidating part- the actual plumbing and system you need, which after doing it is really quite simple…
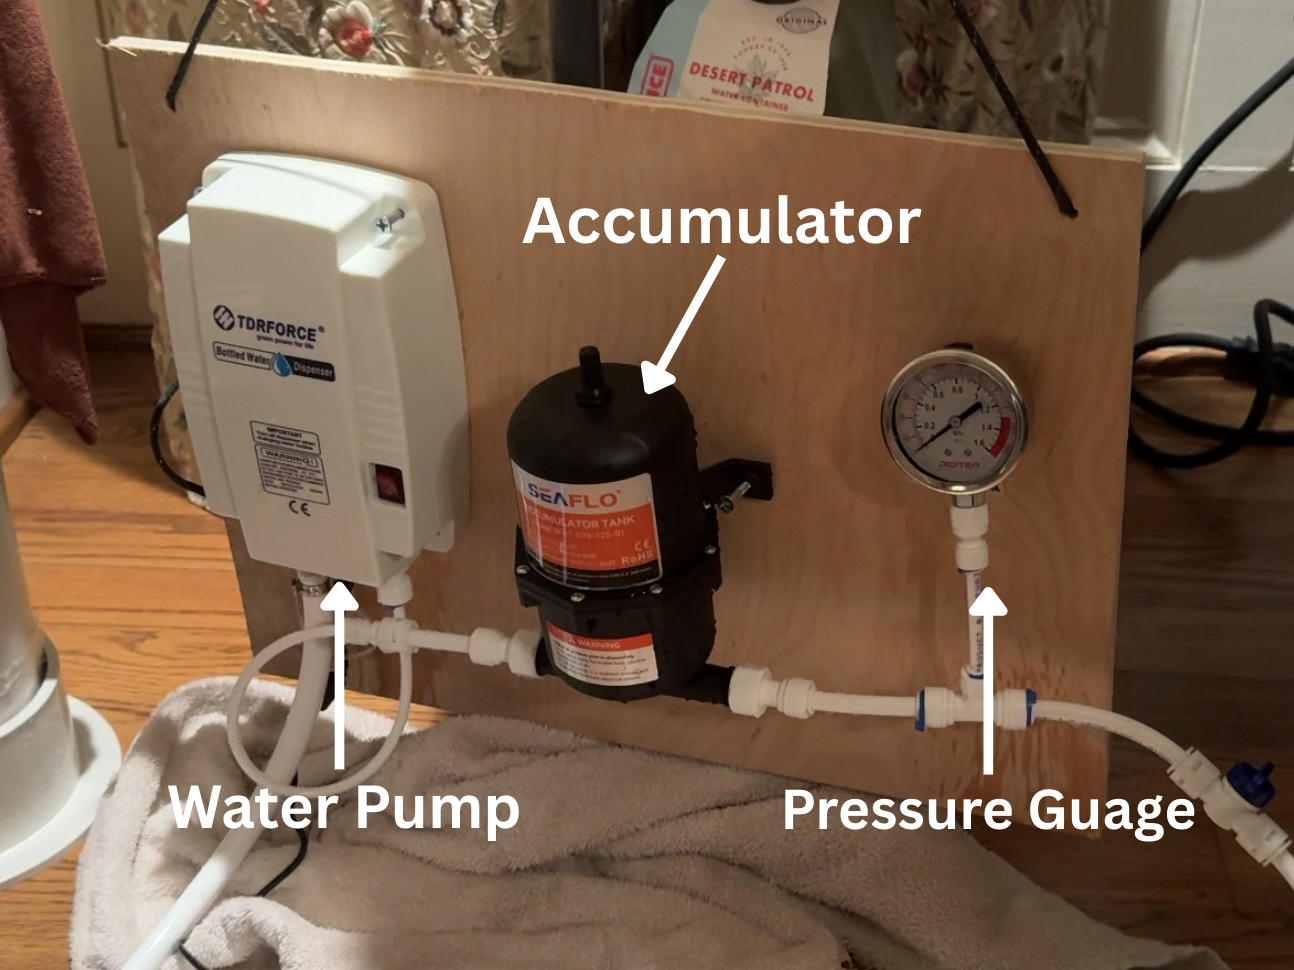
First, you need a water pump to pump the water from your water jug throughout your system. This will plug into an electrical outlet and will be the only electrical part of your system. You can buy these off of amazon, and I will include the link to mine HERE.
Next, you will need to know that the water pump tends to pump water in short and fast bursts instead of a consistent stream. This would not be good when pulling espresso shots because you would get an inconsistent pull, or when you use your sink the water will come out in fast bursts. To solve this issue you will need to buy an accumulator. The accumulator acts as a buffer to stabilize the water pressure and make it a consistent stream. HERE is the one I bought.
Lastly, I recommend adding a pressure gauge to the end of your system so you can monitor your system, making sure it is working correctly and in the right pressure range. HERE is the one I bought.
Tubings and Connectors:
Great, so now you know what equipment you need, but how do you connect all the pieces together and then to your espresso machine, pitcher rinser, sink, etc? Now THIS was the truly intimidating part for me, but again I promise it is easy!
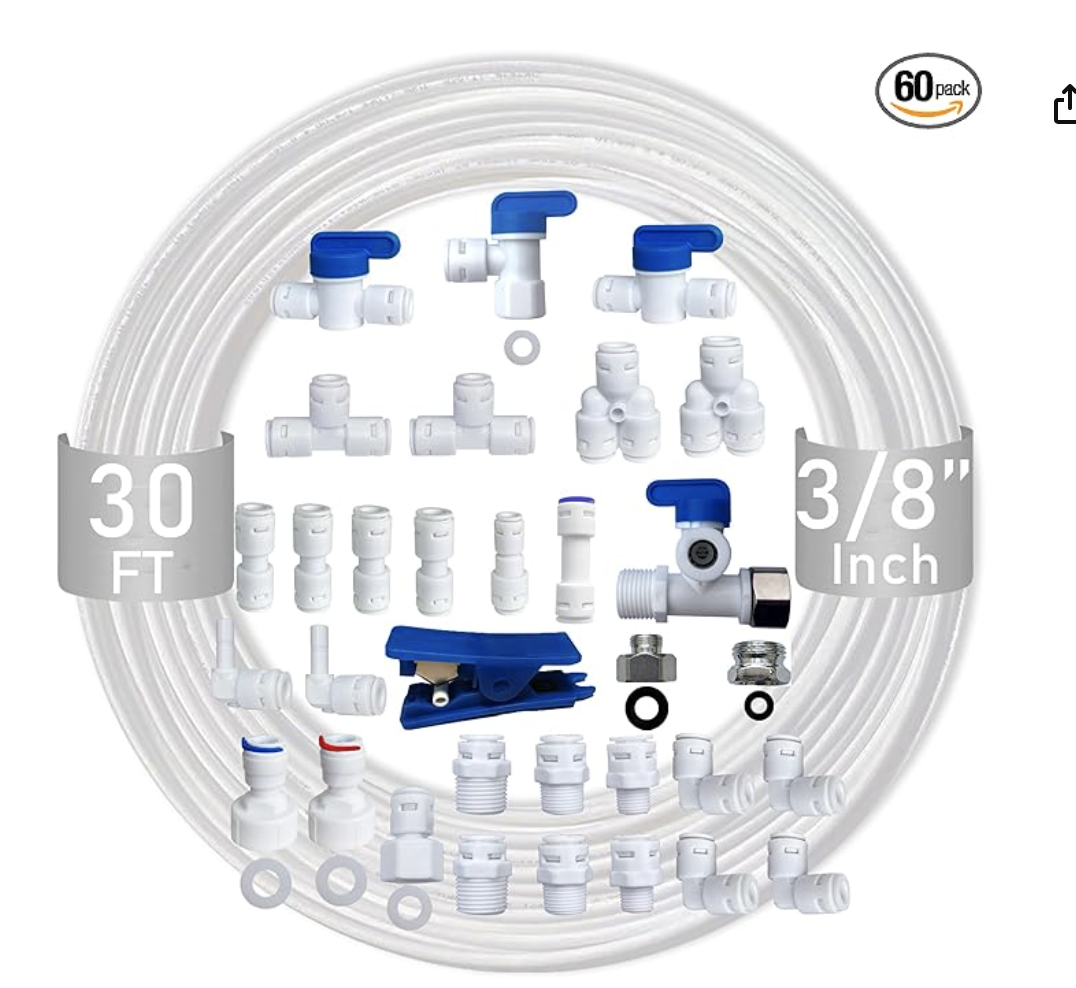
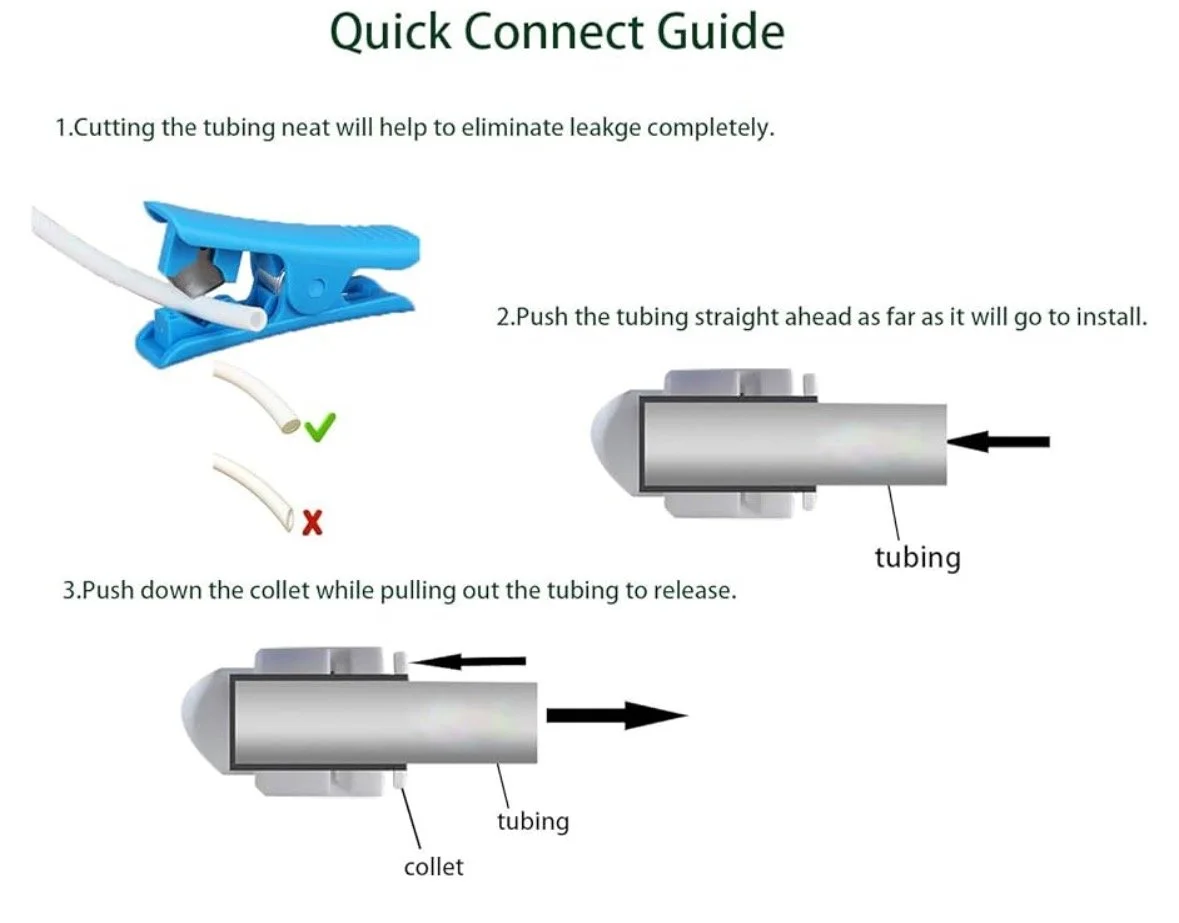
I simply bought THIS pack of tubing and connectors from Amazon and it includes 3/8th inch tubes, 30 feet of tubing (which is more than enough), a way to cut the tubing into little sections, various connectors, and shut off valves.
I recommend cutting off a few inches of tubing (don’t worry you have a lot to work with) and trying to put it into a connecting piece to practice. To do this you simply push the tubing into the connecting piece. PLEASE NOTE. I made the mistake of not pushing all of my pieces far enough. You will need to put some force behind the tubing and push it in until you feel a click. I did not do this at first and water was spraying everywhere. A super easy fix though, so lesson learned!
To release the tubing you need to push down on the little collar, aka the Collet while pulling the tubing. Some tubing may come with little blue semicircle tabs that you put into the collet to keep them open, which in turn keeps the tubing secure in the connector.
Now that you know how to cut and insert the tubing into various connectors you will simply find the connectors that screw into various pieces, such as your accumulator and start piecing it together like legos! I also recommend adding a water shutoff valve right after your pressure guage btw!
The Backboard:
PLEASE NOTE: these pieces need to be upright in order to work properly, so don’t test this out with them lying on the floor or the countertop. In order to fix this problem you can simply take a piece of wood and screw the various pieces into the wood panel. Each piece (besides) the pressure gauge will have screwholes. You can keep your pieces secured to this board and simply hang or place it on the inside of your coffee cart.
Finishing Touches:
Now as you piece together your water system you need to add in the finishing touches, which includes using plumbers tape and a food safe sealant. Plumbers tape can be bought at Home Depot for like $3 and it thin white plastic that you simply wrap around the threads of each screwed in join. Lastly, once your system is permanently screwed into your board and ready to go, you can buy a food-safe sealant to put around each joint. This should make it so that your water system is sealed tight and has no leaks!
P.S. I found a great coffee cart called Noctua Coffee that has a GREAT section on their website about their coffee cart build (would love to do something like this one day) and they also have some good videos of their setup on social media, including specifics about plumbing. I covered a lot of what they discuss in this blog but it is still good extra info to have!